Mini guide on how to use ImageMagick
Translation of the original in Catalan. Read it in: CatalàCastellano

It is about manipulating images through the command line, the power of
is brutal, so here we will not even see 1% of everything it is able to do. But I will try to make a small guide with some quite useful functions. If you want to go deeper into the subject:
(version 6). Specifically the ImageMagick tools I will use are
and
. The texts you will see below are also inspired by a couple of IBM articles:
Graphics from the command line
and the other one:
More graphics from the command line
.
We always use the same source image in all the examples: (mussols.jpg)
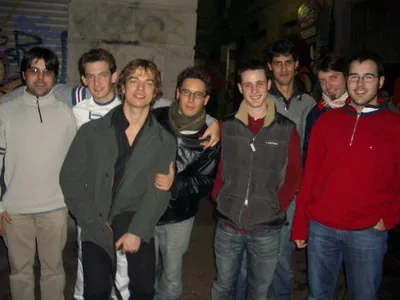
Let's create frames on the images
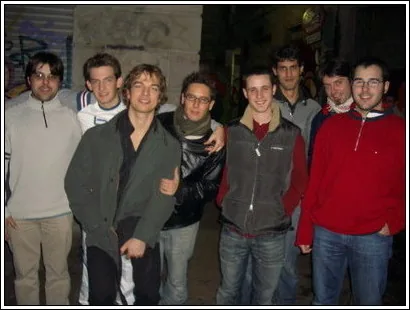
Let's create a frame with a double black line and a white background of 3pixels between the two black lines of 1pixel around the source image.
Code:
convert -mattecolor black -frame 1x1 mussols.jpg mussols-11.jpg
convert -mattecolor white -frame 3x3 mussols-11.jpg mussols-12.jpg
convert -mattecolor black -frame 1x1 mussols-12.jpg mussols-13.jpg
Result:
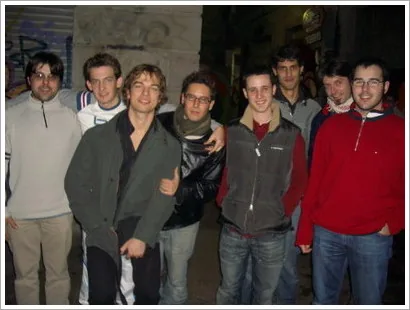
You will have seen that on the portal I use a CSS code that makes a grey frame appear at a distance of 4 pixels from the outline of the image. Well, next I explain how we could embed that frame in the image itself.
CSS code I use to create the effect:
.imatge img {background-color: #fff;border: 1px solid #a9a9a9;margin: 5px 5px 5px -5px;padding: 4px;line-height:0px;}How to do it with ImageMagick:
convert -mattecolor white -frame 4x4 mussols.jpg mussols-7.jpg
convert -mattecolor "#a9a9a9" -frame 1x1 mussols-7.jpg mussols-8.jpg
Result:
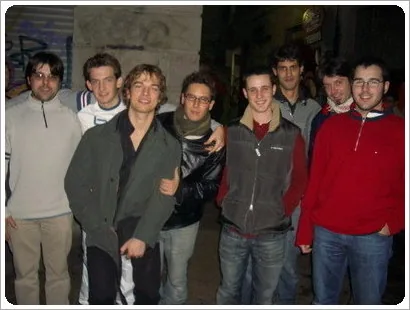
To finish with the frames topic, how to round the outlines of the image and also add a white 4px outline and a grey 1px frame. I have taken this technique from a document called:
.
Code: (

,

,

and

)
composite -gravity NorthEast rounded-ne.png mussols.jpg mussols-1.jpg
composite -gravity NorthWest rounded-nw.png mussols-1.jpg mussols-2.jpg
composite -gravity SouthWest rounded-sw.png mussols-2.jpg mussols-3.jpg
composite -gravity SouthEast rounded-se.png mussols-3.jpg mussols-4.jpg
convert -mattecolor white -frame 4x4 mussols-4.jpg mussols-5.jpg
convert -mattecolor "#a9a9a9" -frame 1x1 mussols-5.jpg mussols-6.jpg
Result:
Writing on an image
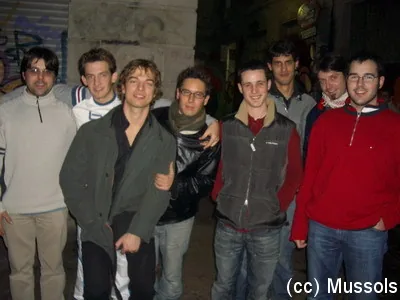
I simply want to add a note of the authorship and the licence (author: Mussols and licence:"Creative Commons") of the photo in the bottom right part of the image, with arial font and size 20, with a separation of 2px below and to the right of the photo frame.
Code:
convert -font /usr/X11R6/lib/X11/fonts/truetype/arial.ttf -fill white -pointsize 20 -draw 'gravity SouthEast text 2,2 "(cc) Mussols"' mussols.jpg mussols-9.jpgResult:
Changing the size of the images (resize & scale)
Another thing I needed to do was to change the size of the images, but without losing their geometry. I have found this in the document
ImageMagick v6 Examples -- Resize or Scaling
.We can look at this example, taking as always the source image 'mussols.jpg':
convert -resize 320x320 mussols.jpg mussols-10.jpgResult:
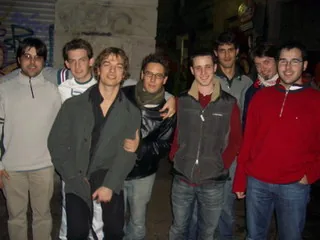
This does not convert the image to 320x320 but to 320x240 which is the real proportion of the source image. So it does not lose the geometry of the source image. This is very useful, because we can put 1024x768 for example, and we will never have an image wider than 1024 or taller than 768. For images that have to be used in applications that run on a screen it can be very useful.
There are also ways to lose the geometry but in my case it was not necessary, so I have not commented on it, but you can look at the document I referenced above and you will find how to do it.