Electronics: Switching on LEDs from the parallel port
Translation of the original in Catalan. Read it in: CatalàCastellano
Well today I have spent loads of hours doing electronics, yes guys yes. That subject I repeated so many times at university. It turns out I had to do a little job for a friend of mine. He has a cardboard factory and several machines controlled by PCs with Win9X, the thing is that at work we have made a management application for the company and that application is able to know what the states of those machines are. So taking advantage of all that, what was wanted was to switch on some 'balizas' (coloured lights) on top of the machine's control cabinet so that from a distance it can be known in which state that machine is.
This that seems so complicated is actually not at all, it simply, as I say, has a problem: conflicts between branches of knowledge. That is, electronics, programming in Win9X, creation of .DLLs and port control. In cases like these is when you understand what Telematics is for, since the computer people told me they had no idea how to make the circuit, that at most controlling ports at a high level, nothing about sending bits to certain pins of the parallel port and the electronics people told me they had no idea about parallel ports, that switching 'balizas' on and off as much as I want: switches, timers, etc. but nothing about .dll's and weird things.
So, I thought, it is impossible that I don't find this done on the internet. I only need to remember a bit of what I know about electronics, install Visual Studio and compile 4 lines of code that I surely find half done and that's it. Here you have the result:
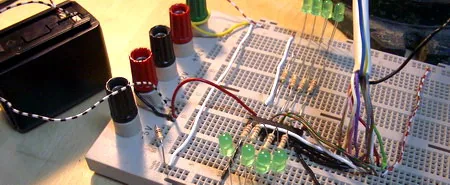
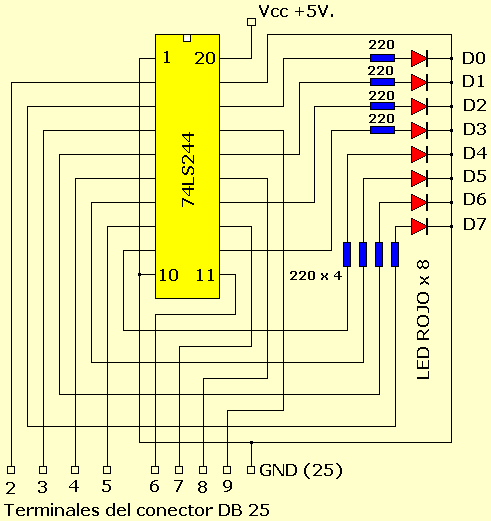
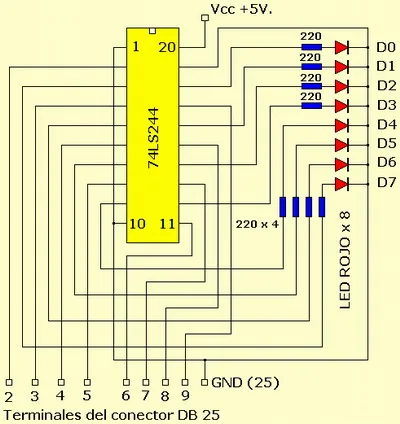
I have taken the circuit diagram and the assembly details from this website (local). As for the code to build the DLL that controls the parallel port I have taken it from the same site, but from another page (local).
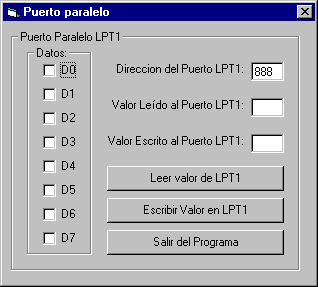
[ Download the DLL and the VB6 Program ] Although when entering the page you get the feeling that it is a page that talks only about VB6 it is not true. Read it well and you will see that the DLL is programmed in C++ in fact it is very basic, it is only a mini-interface that reads and writes a byte to the address of the parallel port that we indicate. Then the program in VB6 is only a GUI that allows us to control our circuit comfortably when we do tests. The interesting thing about this is that afterwards I can hand the DLL to the company's team of programmers and they only have to worry about knowing which digit they have to pass according to the 'balizas' they want to activate.
For example, if they want to switch on 'baliza' number 1 they only have to pass the ASCII code 128, in binary: 10000000. So, it switches on 'baliza' 1 and switches off the rest.
As for the electricians of the factory they only have to remove the resistor and the LED if they want a drop of 4-5V or take the signal after the LED if they want an output of 2-3V. Then they with a transistor on each output can amplify the power drop up to 24V which is what the 'balizas' used in these control cabinets need to work.
Next I comment on some photos I have taken during the assembly in case they can help you, in any case you have all the photos I have taken in the photo album.
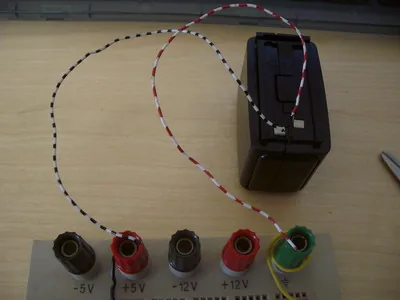
Since I did not have a 5V power supply to feed the circuit I have used a battery pack I have from a walkie talkie:
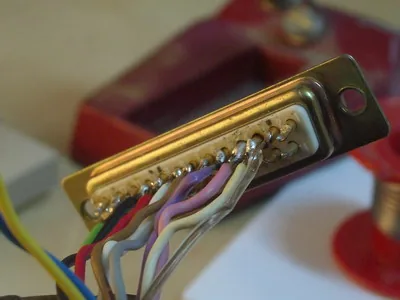
I have tinned the ends of the parallel cable so that they can be put on the protoboard as part of the circuit:
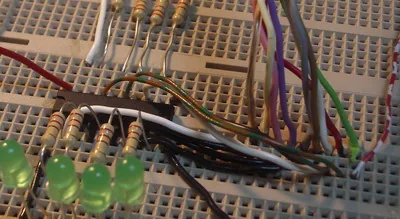
DB25 connector that goes directly to the PC's parallel port, ABOVE ALL SHUT DOWN THE PC BEFORE PLUGGING IT IN IF YOU EVER TRY THE CIRCUIT!!!:
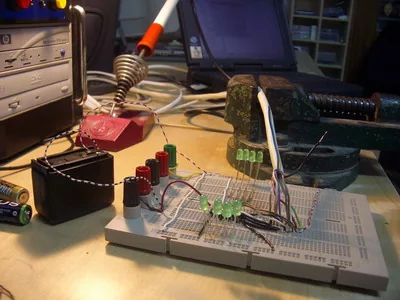
General photo of the whole 'setup' connected to the PC:
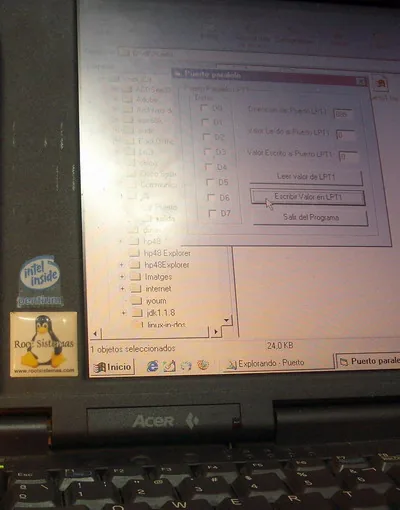
My first laptop (I needed a parallel port and had nothing else), a Pentium at 133 with W98 installed expressly for the experiment controlling the whole thing with the VB6 application and the corresponding DLL:
Screenshot of the application made in VB6 to control the LEDs:
The circuit diagram:
5 comments
Comments from the old blog, as they were written. Comments are closed.
intensity
Ufff!! Mare meva... No he entès quasi res, q complicat això!
jo
Que guapo!!!!!
Jo vull apendre a fer aquestes parides!
jo
Per cert, seria curios algun enllaç que expliqués com fer això mateix pero amb linux
—
Doncs fer que s'encengui i s'apaguin les llumetes des de linux és més que trivial. No cal tant de rollo ni coses rares com amb Win. Per exemple, suposem que el port paral·lel on tenim connectat el tema és el /dev/lp0 i volem encentre només el primer LED, doncs molt senzill:
echo ALT+128 > /dev/lp0
ALT+128 => apretar la tecla ALT i després 128 i sortirà una lletra C trencada en majuscules: 'Ç'. Això correspon al binari 10000000 com deia en l'article i ja tenim el primer LED encés.
RYSKOYDE
Projecte en curs xD
Leds son les llums d'una fabrica. el programes ja estan fets. Incluit un .html per donar l'estat. Altament divertit
de fer. Us hu recomano. Quan estigui acabat hi haura una web d'explicació amb fotos i codi font dels programes.